Installation
Installation
Add it to your project
Use your package manager
uv add writeadoc --group docs
poetry add writeadoc --group docs
Or install it by itself
uv pip install writeadoc
pip install writeadoc
Creating a new project
Getting started is super easy. To create a new project, run the following command from the command line:
writeadoc init docs
cd docs
This will create a starter project in the path of your choice.
Take a moment to review the initial project that has been created for you.
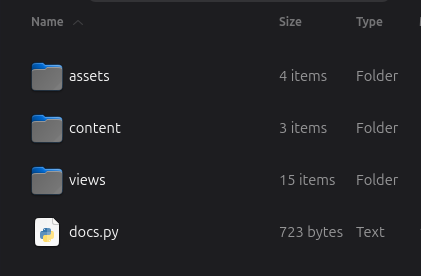
There is a docs.py Python file and three folders:
The "assets" folder contains images, fonts, CSS, and JS files used by your docs.
The "views" folder contains the templates (the "theme") for the pages of your documentation.
The "content" folder will contain your documentation markdown source files. Right now, it
contains two demo pages: index.md and welcome.md.
Running the development server
WriteADoc comes with a built-in development server that lets you preview your documentation as you work on it.
Start the server by running the python docs.py command:
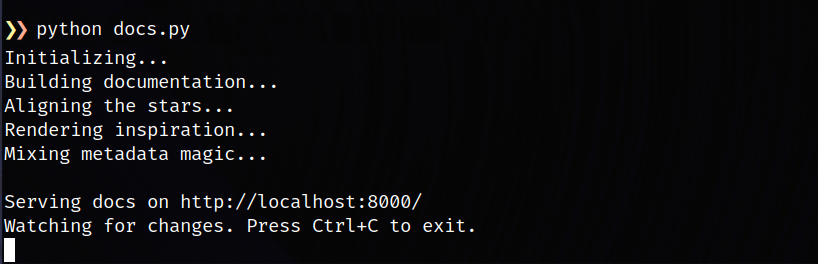
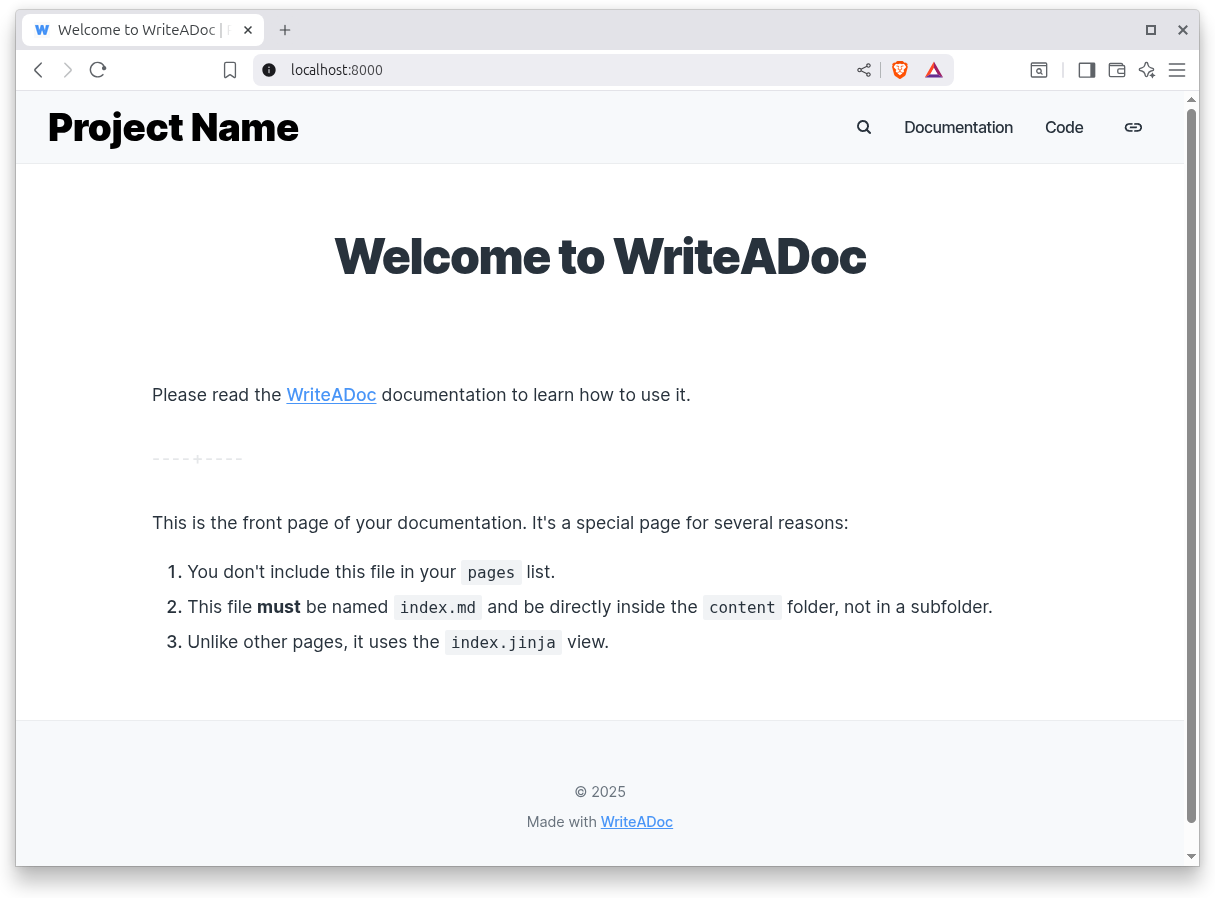
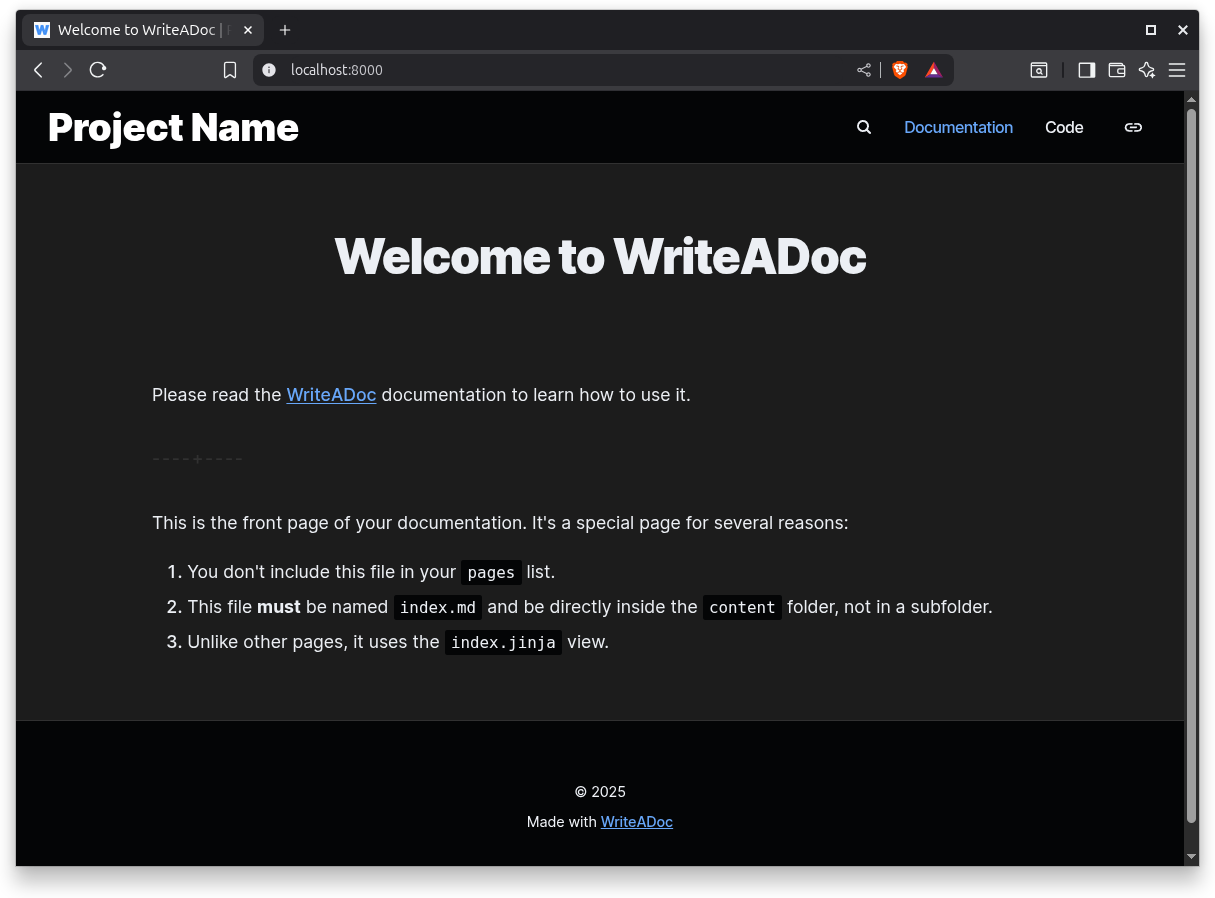
Open http://127.0.0.1:8000/ in your browser, and you'll see the default home page displayed:
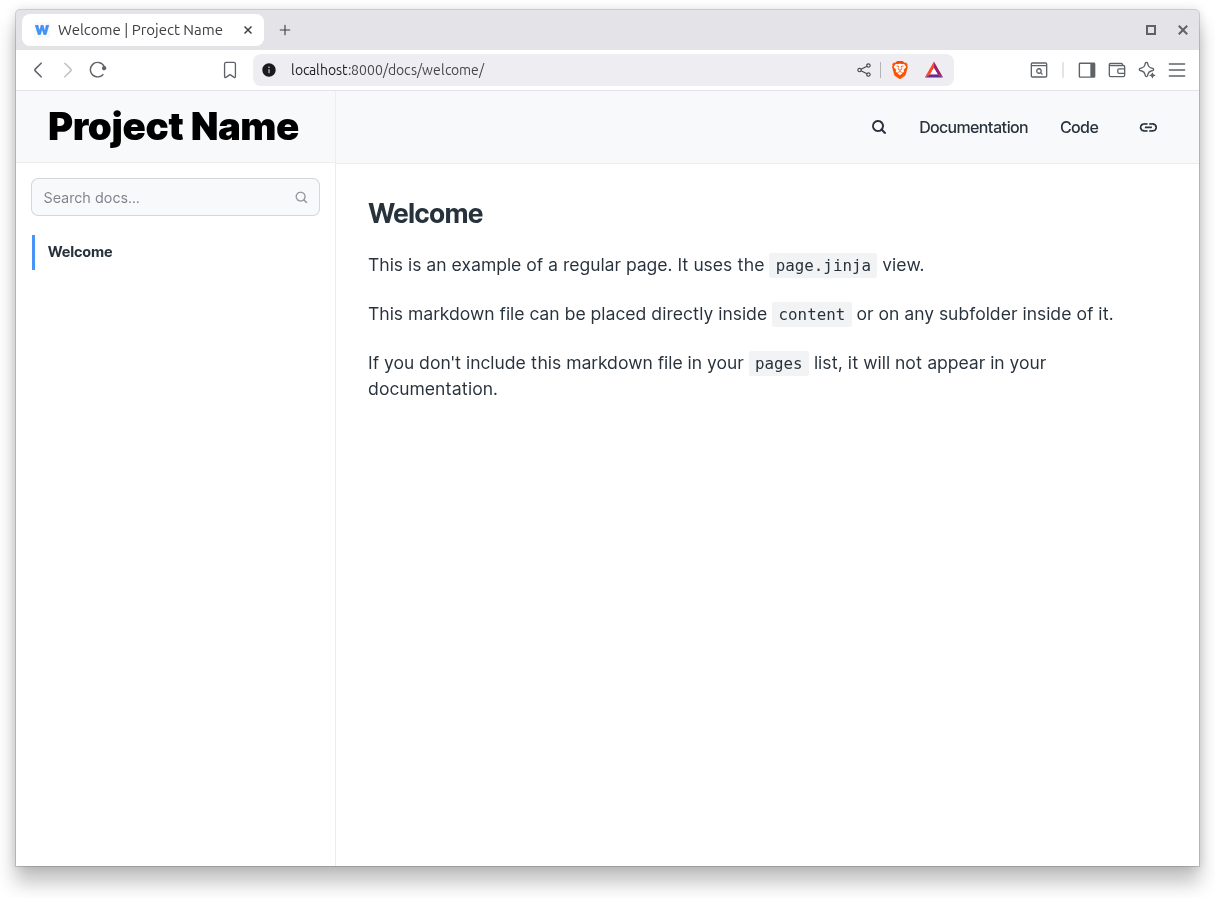
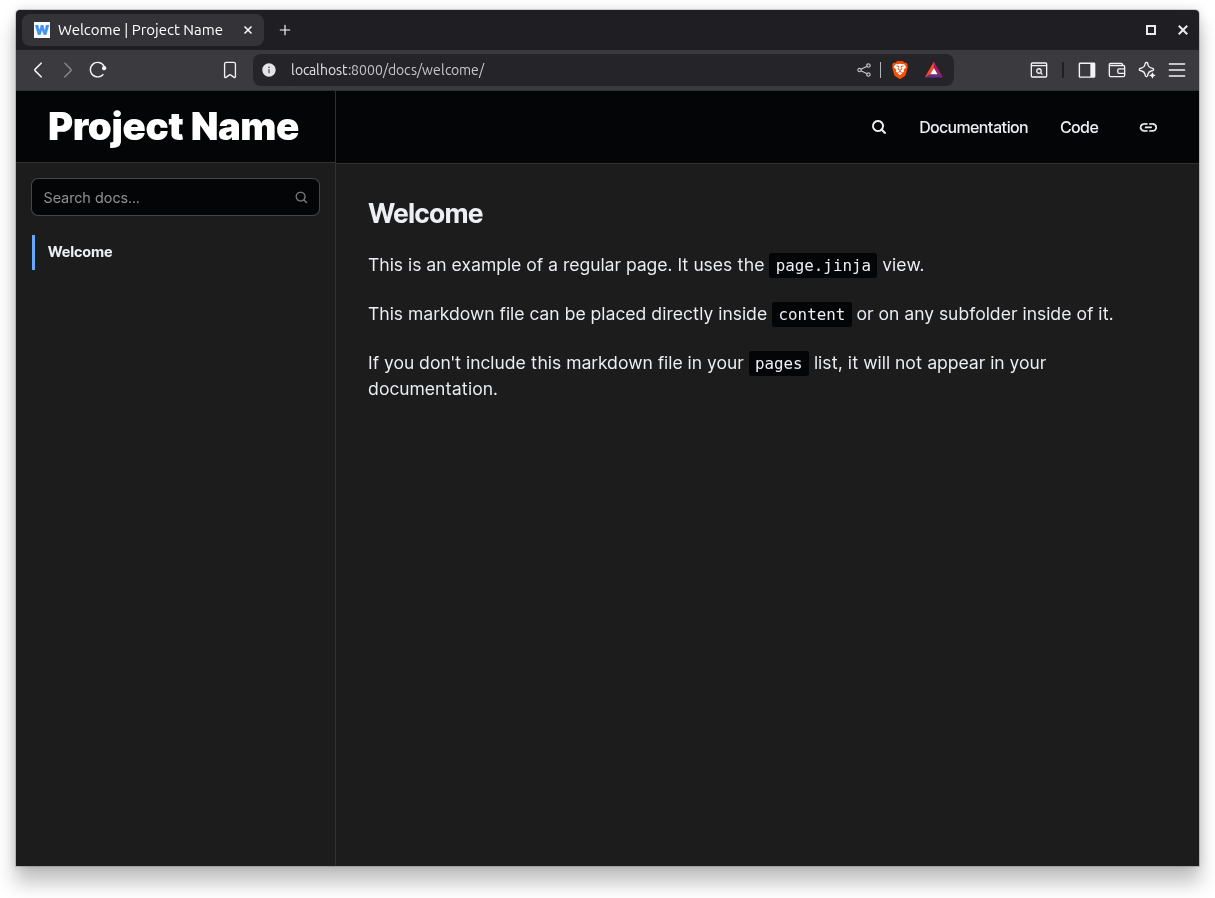
The generated home page is different from the rest: it's a welcome/marketing page. Clicking on the "Documentation" link takes you to the first page of your actual documentation.
Build
When you are ready to publish your documentation, run the python docs.py build command, and your documentation will be generated into a build folder. This is a static site that can be copied and deployed anywhere.
Note that your assets folder will be copied into the build folder, so don't commit the build folder into your source code repository, because you will waste space with two copies of the same files.